
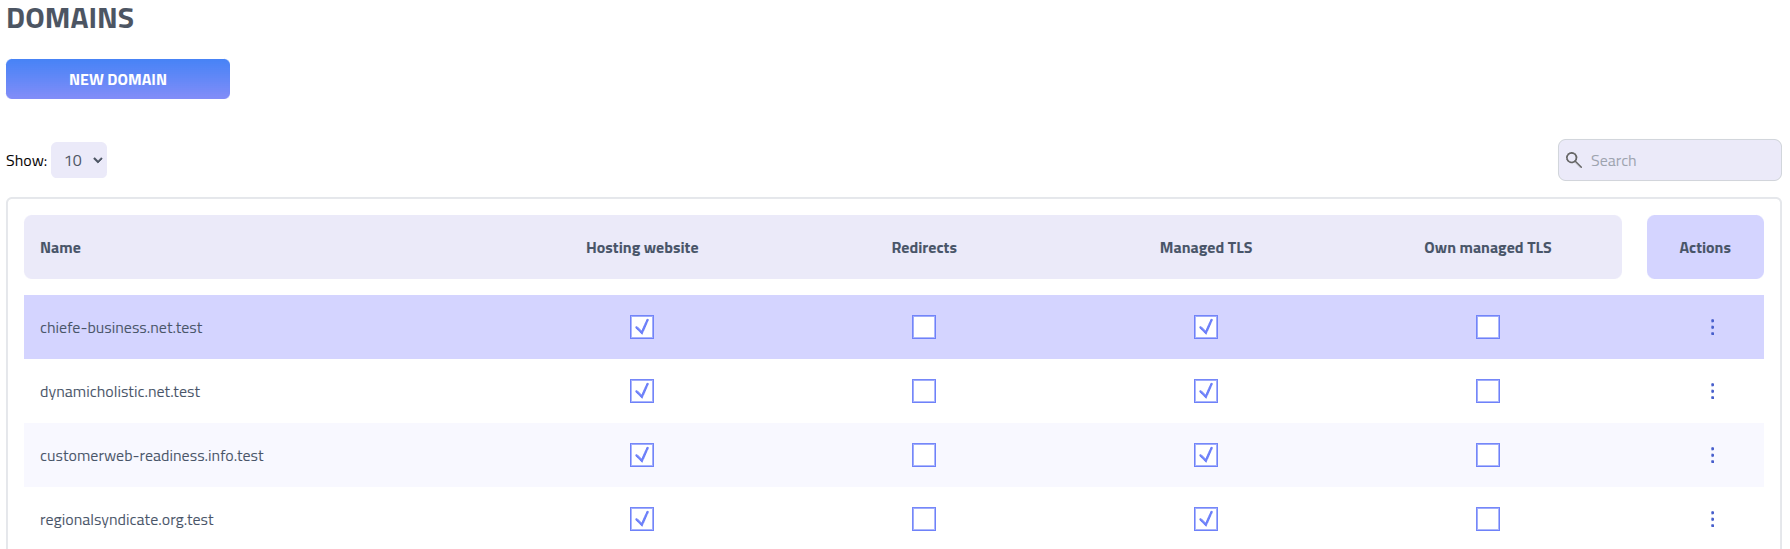
Domains
Domains are used for hosting websites, associates template page and MITM proxying.
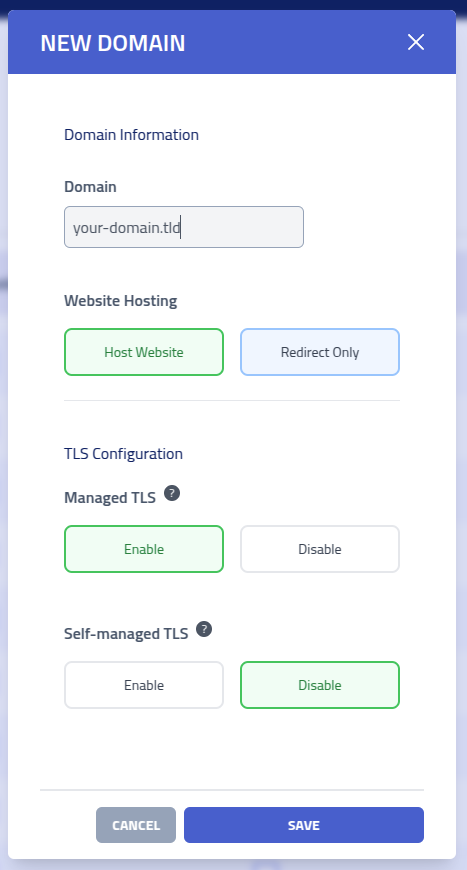
Create new domain
Prerequisites: Before creating a domain, ensure that a DNS
A Record
is configured to point to your Phishing Club server's IP address. This DNS configuration is required
for domain resolution and TLS certificate provisioning.
Note: Proxy domains are automatically created when you configure proxy
settings and cannot be manually created through this interface.
See the
Proxies guide for information about proxy domain management.
| Configuration | Description |
|---|---|
| Domain | The fully qualified domain name |
| Website Hosting | Host a website on the domain or redirect on visit |
| Managed TLS | Automatic SSL/TLS certificate management through Let's Encrypt |
| Self Managed TLS | Manual SSL/TLS certificate management using certificates |
After creating the domain, you can add custom website content and configure custom 404 error
pages through the Actions menu. These customizations help create phishing scenarios.
Proxy Domains
Proxy domains transfer and manipulate content from other websites. These domains are managed via. the Proxies page.
Important: Proxy domains cannot be converted to regular domains or vice versa.
Website editor
Use the editor to edit domains static website and 404 page
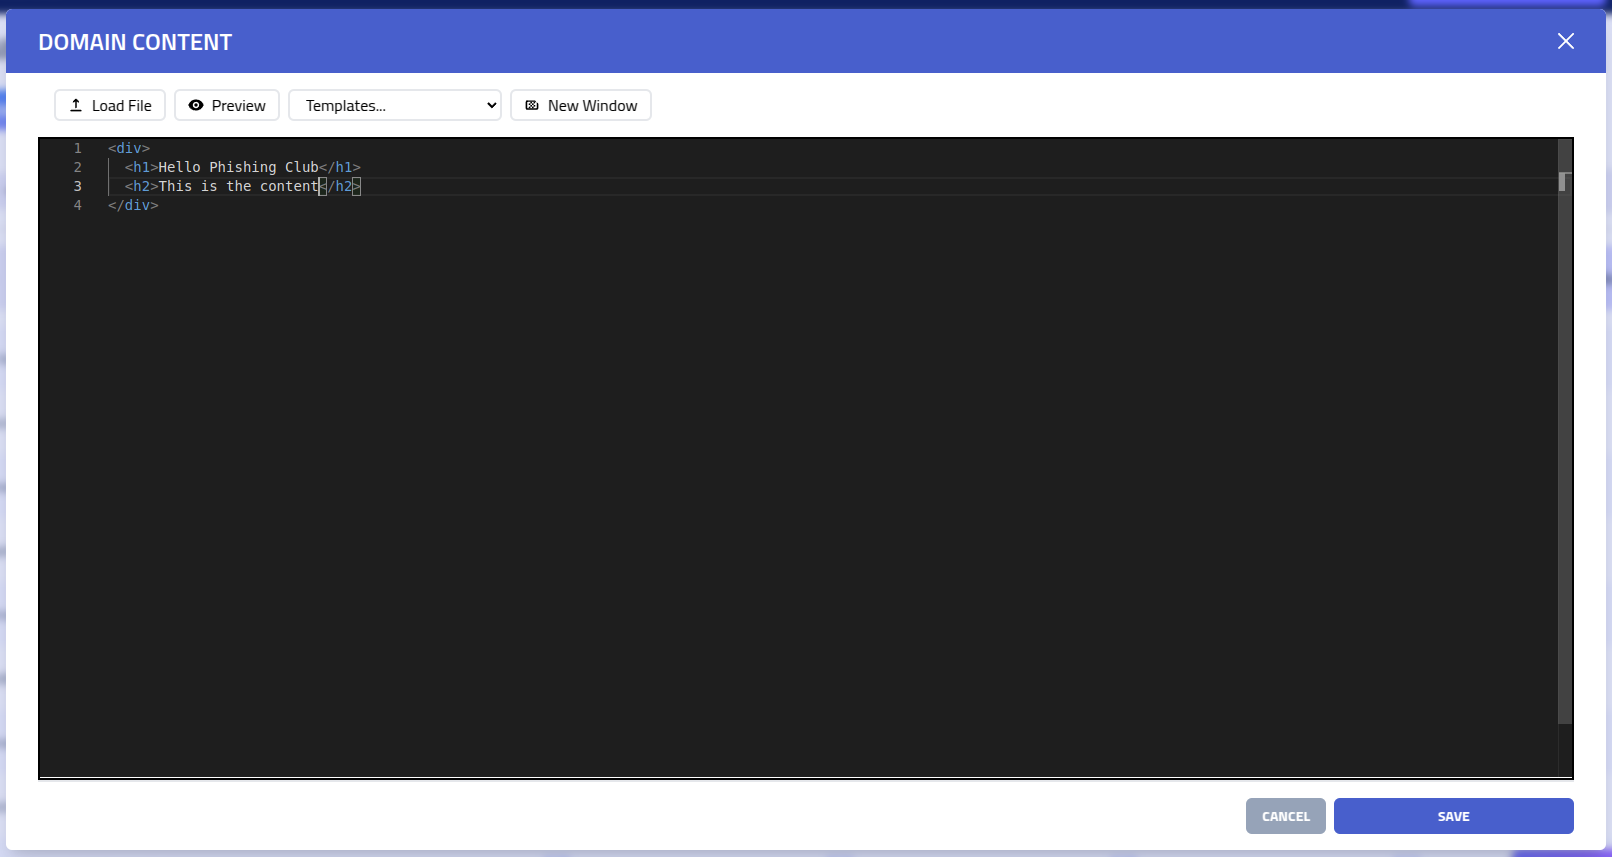
| Feature | Description |
|---|---|
| Load file | Import existing HTML, CSS, or text content from a file |
| Preview | Split-screen editor with time preview that automatically updates as you modify content |
| VIM | Enables VIM mode in the editor |
| Template Variables | Insert dynamic content variables |
| New window | Open preview in new window |